We continue our custom transmission tunnel fabrication series. Check out part 1 if you haven’t seen it. In this post, we begin fabricating the firewall half of the transmission tunnel to fit our T56 transmission in our 1971 Camaro project car.
Paper Template
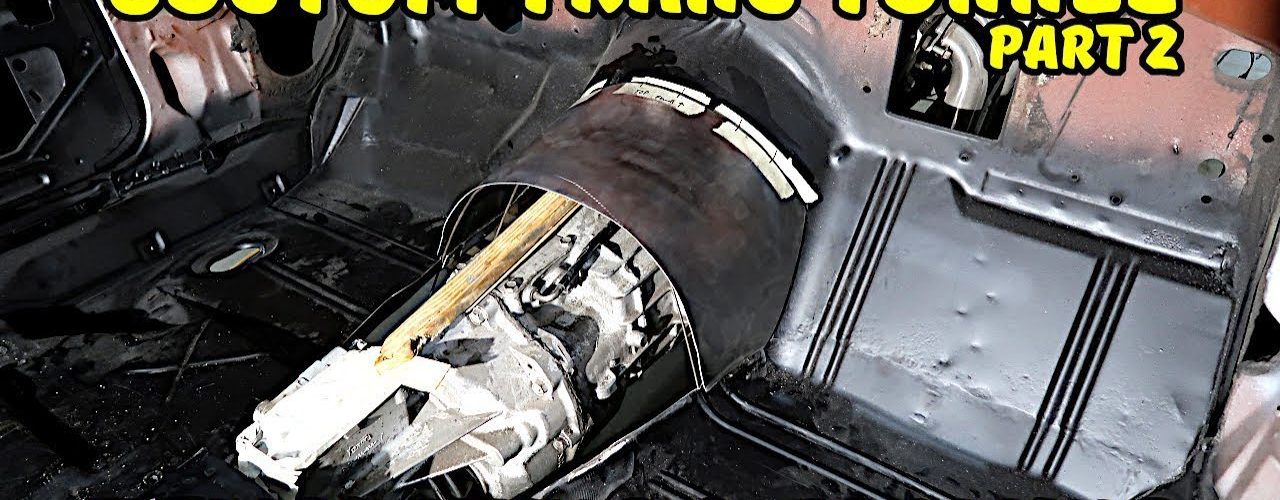
We begin the transmission tunnel fabrication by positioning poster board paper over the metal rods we installed in part 1. We tape multiple pieces of paper together to get a large enough piece. We then tape the paper to the floor board and firewall areas to secure it. Then using a marker, we draw lines from the paper to the existing sheet metal so that we have reference marks to transfer to the sheet metal. Doing this will ensure we position our templates and steel pieces in the correct locations. We then trim the paper using a sharp razor blade so that we are not forcing the paper around.
Paper to Steel
Next we transfer the poster board template over to 18 gauge sheet metal and trace around it using a sharpie. We cut the sheet metal using a 4.5″ angle grinder with a cutoff wheel and then clean up the edges using a die grinder with 2″ roloc discs. We leave about a 1/4″ of material on the sides so that we can get a tight fit in the car. We also leave rounded corners where we can to make welding in the tunnel easier.
Forming the Tunnel
We transfer the marks from our paper template to our sheet metal template and we begin bending the sheet metal over a 4″ diameter piece of schedule 40 PVC pipe. After multiple trips from the bench to the 1971 Camaro, we finally have our first section of transmission tunnel.
In part 3, we are going to replicate the factory bead and tack weld this section in place.

