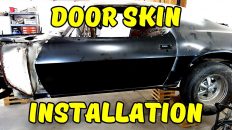
Often times you’ll need to transfer brackets from old panels to replacement panels while restoring cars. In this case, we are replacing the door skin on our 1971 Camaro RS/SS build project and the replacement door skin does not come with the support bracket for the driver side mirror. We show you how to remove the bracket from the old skin and install it on the replacement skin. The process shown here will work for most brackets that are not included with new panels.
Removal of Bracket
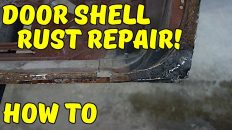
Removing the bracket is easy if you can see the spot welds. If the spot welds are not easily visible, hit the bracket with a wire wheel or conditioning disc to remove paint and rust. If you still can’t see the spot welds, try from the backside of the panel. If the backside of the panel is not accessible, you can use an air chisel and gently lift on the bracket to see where it gets stuck. You can also cut the panel that the bracket is attached to and then grind away at it.
Removing Rust and Painting the Bracket
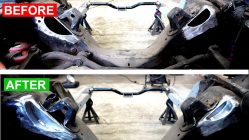
Our door skin mirror bracket was pretty rusty. We tried a product called Evapo-Rust for the first time and we were very happy with the results. Check out our post on safely cleaning metal parts using Evapo-Rust to see the before and after of the door skin mirror bracket.
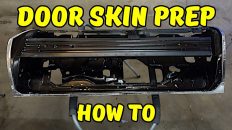
Use a condition disc to remove any left over paint on the bracket. Then wipe it down with wax and grease remover and throw a coat of epoxy primer on it.
Installing the Bracket
Most brackets are spot welded on so that’s what we will cover here. Begin by test fitting the bracket on the replacement panel. Next drill your holes for the plug welds. You can drill them through the bracket or the panel. I prefer the panel when possible because it’s generally thinner material than the bracket. Use a conditioning disc on the bracket and the panel where the spot welds are going to go. Remove enough paint to apply a weld through primer. Finally, clamp the bracket to the panel and plug weld it.
2 comments