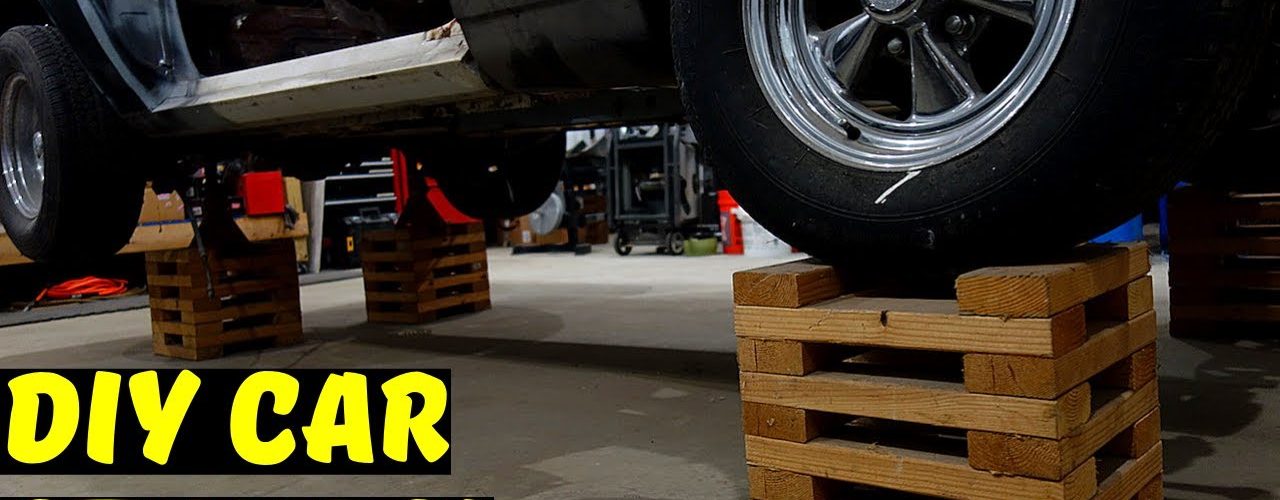
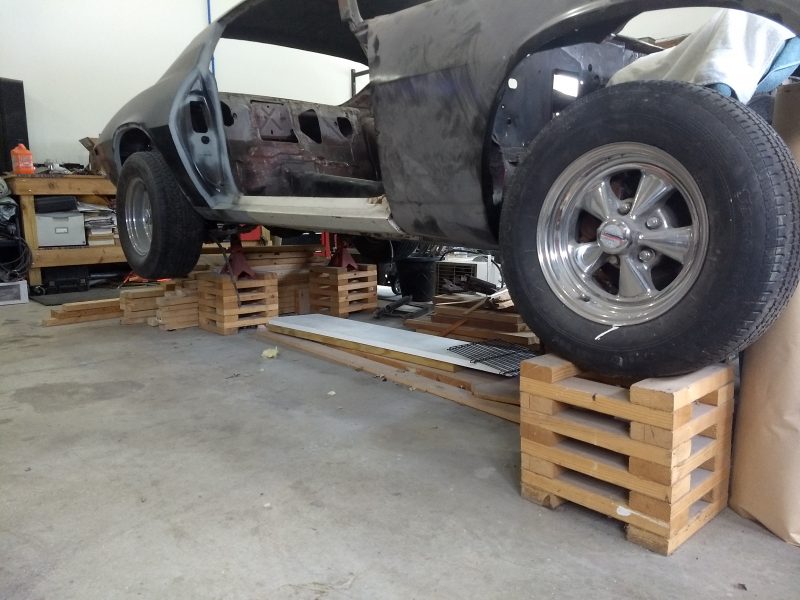
There are a lot of reasons to get your car up in the air. The most common reason is most likely to gain access to the underside for maintenance and repairs. Slowing down rust and corrosion is another reason. No matter what the reason is, wheel cribs can make it a lot easier to get your car higher than you can get it using jack stands. This is because the tires will sit on the wheel cribs, whereas the jack stands sit on the concrete and are placed under the axle, frame, or some other support.
Wheel cribs are super easy to make and the process doesn’t take a lot of time. In this post, we are going to make wheel cribs that are 10 inches wide, 14 inches long, and 12 inches high.
Materials
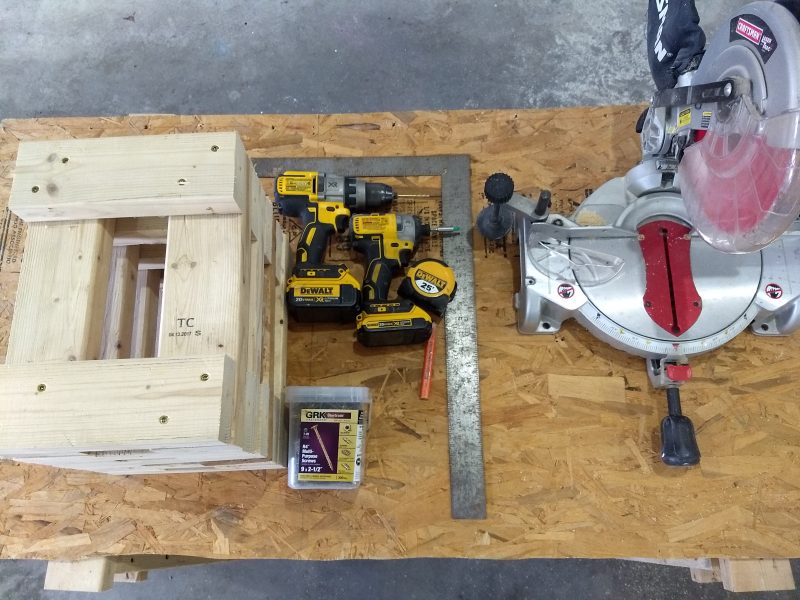
- 8 – 2 x 4 x 10
- 256 or 5lbs of 2.5 inch screws. I used GRKs because that’s all I had. GRKs are amazing screws for construction, but are overkill for this.
Tools
- Drill with 1/8 inch drill bit
- Impact driver (optional). Once you use an impact driver, you’ll never again use a drill to drive screws.
- Tape measure
- Miter saw, circular saw, or hand saw
- Pencil
- Square (optional)
- Safety Glasses – Buy in bulk to save money
Preparation
Verify that the measurements in this post will work for your vehicle(s). You can determine the width by measuring the width of your tire. You can determine the length by placing a board behind your tire and a board in front of your tire and taking the measurement between the two boards.
Determine if you want to make stackable wheel cribs. This decision may determine how tall you make your wheel cribs.
Don’t go to tall with your wheel cribs. If you are going to be on a creeper under your vehicle, you may want to get an idea of what a comfortable reach is for you. Otherwise you may end up straining your neck to reach what you need.
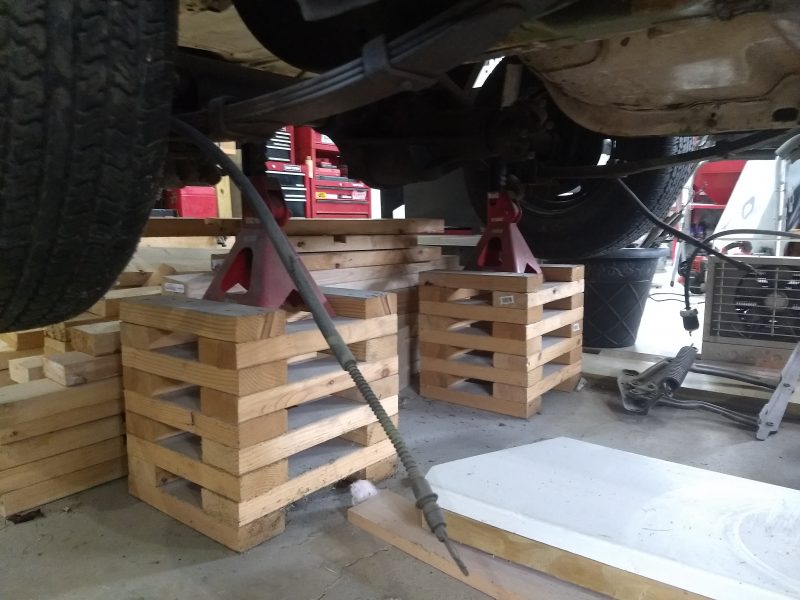
Decide if you have any other requirements for the wheel cribs. For example, I wanted the option to place my jack stands on my wheel cribs, so I made sure the width boards of my wheel cribs were close enough to support my jack stands.
Make Your Cuts
You’ll need 10 boards per wheel crib for the width at 10 inches and 8 boards per wheel crib for the length at 14 inches. You will begin and end each wheel crib with the boards you cut for the width (the 10 inch boards).
Begin by making all of your cuts. I cut one board at 10 inches and one at 14 inches and used those as templates to mark and cut the remaining boards. You can also make a jig to make the cuts or just measure down the board and mark off all of the cuts. Just don’t forget to account for the width of the saw blade.
Assemble the Wheel Cribs
Once your cuts are made, it’s time to begin assembling the wheel cribs. Separate your boards into width and length piles and further separate the boards into piles for each wheel crib.
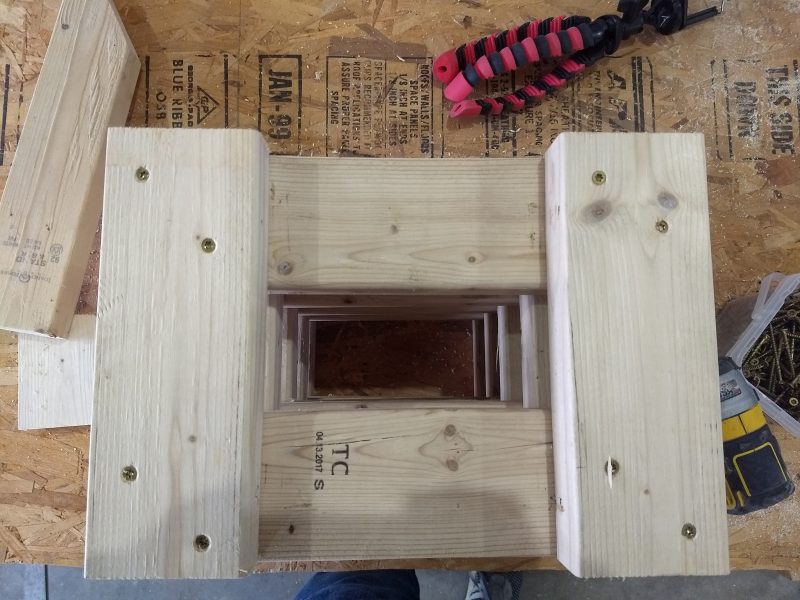
Begin assembly by laying out two width boards and then position two length boards on top, perpendicular to the width boards. You should be able to line up the ends and edges of the boards for square. Once positioned, pre-drill two holes in each corner of the wheel crib and then drive two 2.5 inch screws into each corner, for a total of 8 screws. Take note of the screw pattern because you’ll need to alternate on the next layer. Next, place two width boards on top, pre-drill, and drive the screws. Repeat these steps until you have finished the wheel crib.

