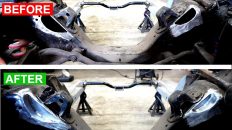
Do you have a rusty section of floor pan? In this post, we replace the front driver side floor pan section in our 1971 Camaro RS/SS build and we are taking you along with us.
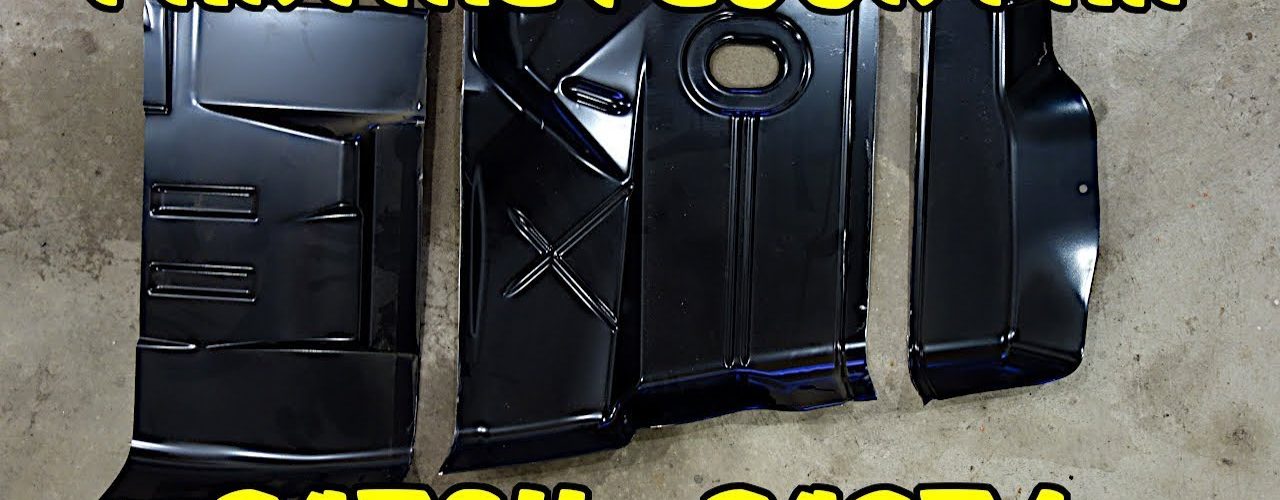
The first thing you need to do is a little planning and preparation. Begin by cleaning up the rusted section of floor pan with a wire wheel or a conditioning disc. You’re looking for clean metal. Once you’ve found clean metal, you can be begin assessing how much of a replacement panel you need. If you have a smaller section, you might be able to get away with a custom patch. If you have a slightly larger section or the area that needs replaced has a stamping that is hard to replicate, you can purchase a partial floor pan like we did here.
Now just because you get enough panel to replace a good portion of the floor doesn’t mean you have to use it. In fact, you’ll only want to use enough of the replacement pan to replace the rusted out section. Don’t forget to check underneath the car to see what’s in the way. You’ll want to size the replacement so that you can get to the welds on the underside if possible.
With your panel fit being fairly close, it’s now time to trim and fit the panel and get it tack welded into place. This process can be time consuming, but the more time spent here, the easier it’s going to be to weld the panel in and the better the panel will look.
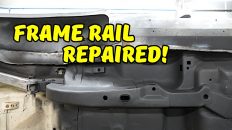
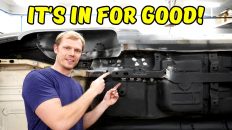
Finally it’s time to weld the panel in for good. You want to work your way around the panel adding additional tack welds or small stitch welds. Do this until the entire panel is welded in.
After you’ve finished welding in the panel, it’s time to dress the welds. Use a 40 grit flap disc on a 4 1/2 inch angle grinder for the areas that are easy to get to. For the other areas, you can use a die grinder with a 2″ roloc sanding disc or flap disc. You can also use your cutoff wheel to remove material fast. For tight areas, consider using a double cut burr.
At this point, you’ll want to fill the welds with fiberglass filler. This ensures that any pin holes are filled, which helps to keep moisture out of the weld. After that, hit the fresh metal with a nice coat of epoxy primer.


Add comment